Happy Monday!
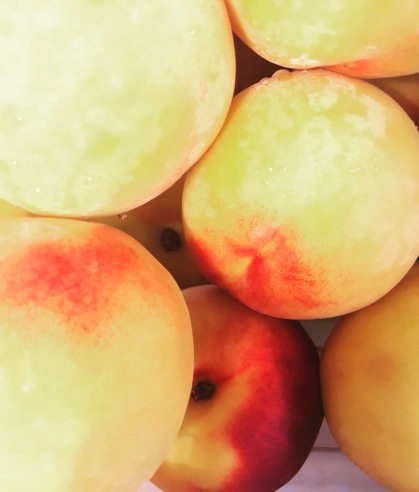
Summer fruit is so tasty, though with so much going on with life, it feels like I haven’t really had the opportunity to enjoy it fully. So recently, I picked out some really large peaches to can and preserve so that I enjoy the taste of peaches for a while longer!
Canned peaches remind me of summers spent enjoying my grandma’s freshly canned peaches. We would enjoy them for breakfast and they tasted so good!
There are various ways to can peaches. This is the rough method that I used:
Ingredients:
- About 12-15 pounds of fresh and ripe peaches. I let mine ripen in a fruit bowl for 2 days.
- Honey (I also used agave, brown sugar and coconut sugar for various batches, as I ran out of honey)
- Lemon juice: the juice of around 2-3 large lemons to prevent the peaches from turning brown
- Mason Jars: around 10 jars. I believe I used 1L mason jars.
- 1 pot to blanch the peaches to remove the skin
- 1 large pot large enough to hold the mason jars to can the peaches.
Method:
- Clean and sterilize jars. Ensure that you have new lids for proper seal.
- Using one of the pots, bring the water to a boil, then gently place the peaches in the water for a minute to loosen the skin. After a minute, take the peaches out and immediately place them into a bowl of cold water and ice to stop the peaches from cooking.
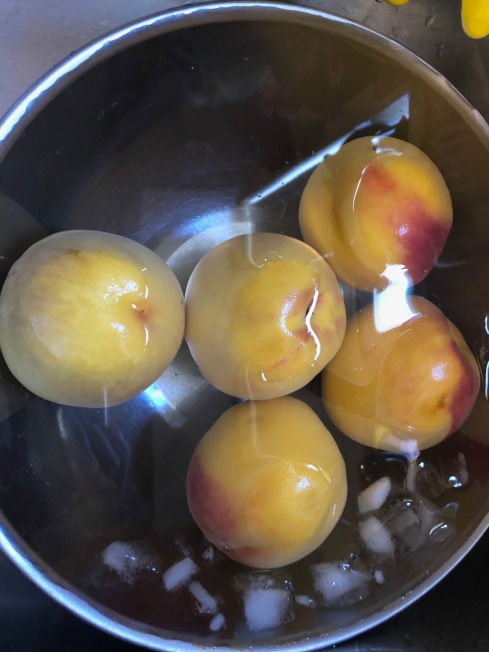
- Peel the skin off the peaches
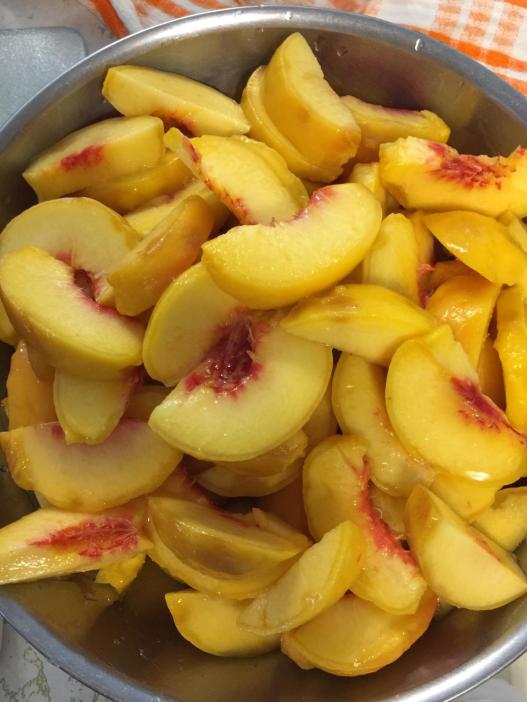
- Slice the peaches in quarters. Fill up the mason jars and leave about 1 inch of space.
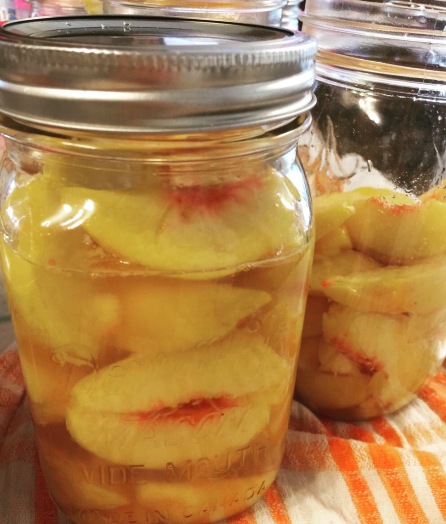
- Prepare the sweetener. I used 1 cup of honey to 6-7 cups of hot water and mixed this together in a pot. For agave, I used 1 cup of agave to approx. 8 cups of water as I found it sweeter.
- Add the sweetener to the peaches. Take a chopstick and tap out the air bubbles.
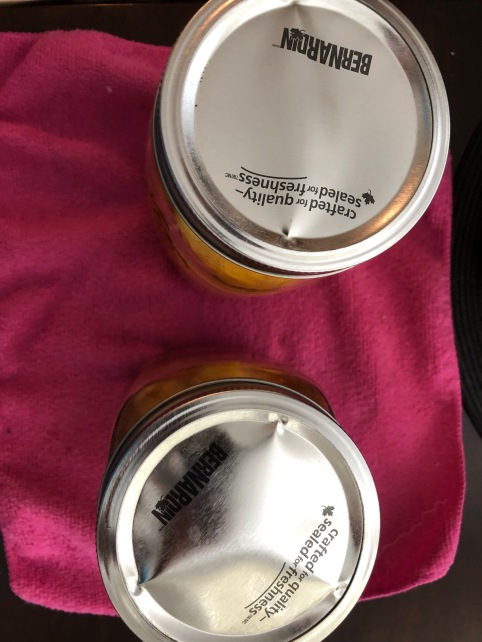
- Boil the mason jar lids for about 5 minutes to sterilize the lids. Place the lids to cover the peaches and close the jar tightly. Repeat this process for the other filled jars.
- Using the large pot, bring the water to a boil. Turn the filled mason jars upside down, place them into the boiling water. Cook the peaches for 25 minutes. I found that turning down the heat helped with preventing the liquid from leaking and the cans from popping.

- Let the jars rest for 10 minutes and then using gloves or tongs, remove each mason jar from the pot and place upright. If you hear popping while the jars are resting, then they have sealed. Some of my lids popped and as they were resting, I could hear them pop – as below:
- I read on a blog that if you have more than half the liquid that’s leaked from the jars, it’s better to consume these ones first. I had this happen for the first couple of jars and happily ate these jars first.
Enjoy! Have a great rest of your week!